Setup gitlab runners on your server for executing CI/CD jobs.
January 22, 2022 | Arunachalam ENOTE: The tutorial assumes that you have basic knowledge on CI/CD. If you aren't aware of it, then we recommend you to look here
GitLab runner is a build instance which is used to run the jobs over multiple machines and send the results to GitLab and which can be placed on separate users, servers, and local machine. You can register the runner as shared or specific after installing it.
Why do we need to setup runner?
Gitlab.com by default provides free shared runner services for CI pipeline with certain minutes, post which we will need to buy the minutes for organisation / project depeneding on your needs. Each time the minutes expire we will need to buy the pipeline minutes again. If the pipeline is setup for testing development process, then think of the number of times the pipeline would be triggered? And the minitues could expire within days, if the script takes longer time. In such case we would be spending a lot of money in buying the CI/CD minutes.
To avoid this, Gitlab also provides a way for us to install runners on our custom servers / host machines and the jobs would execute in them.
Now let us see how we can install gitlab runners and use them for our jobs. In this guide we would be setting up a shared runners as a docker service. There are multiple other kind of setup services available in the official docs. Check them here - Installing Runners
Install the Docker image and start the container
Before you begin, ensure Docker is installed on your machine.
And Obtain a token:
- For a shared runner, have an administrator go to the GitLab Admin Area and click
Overview > Runners - For a group runner, go to
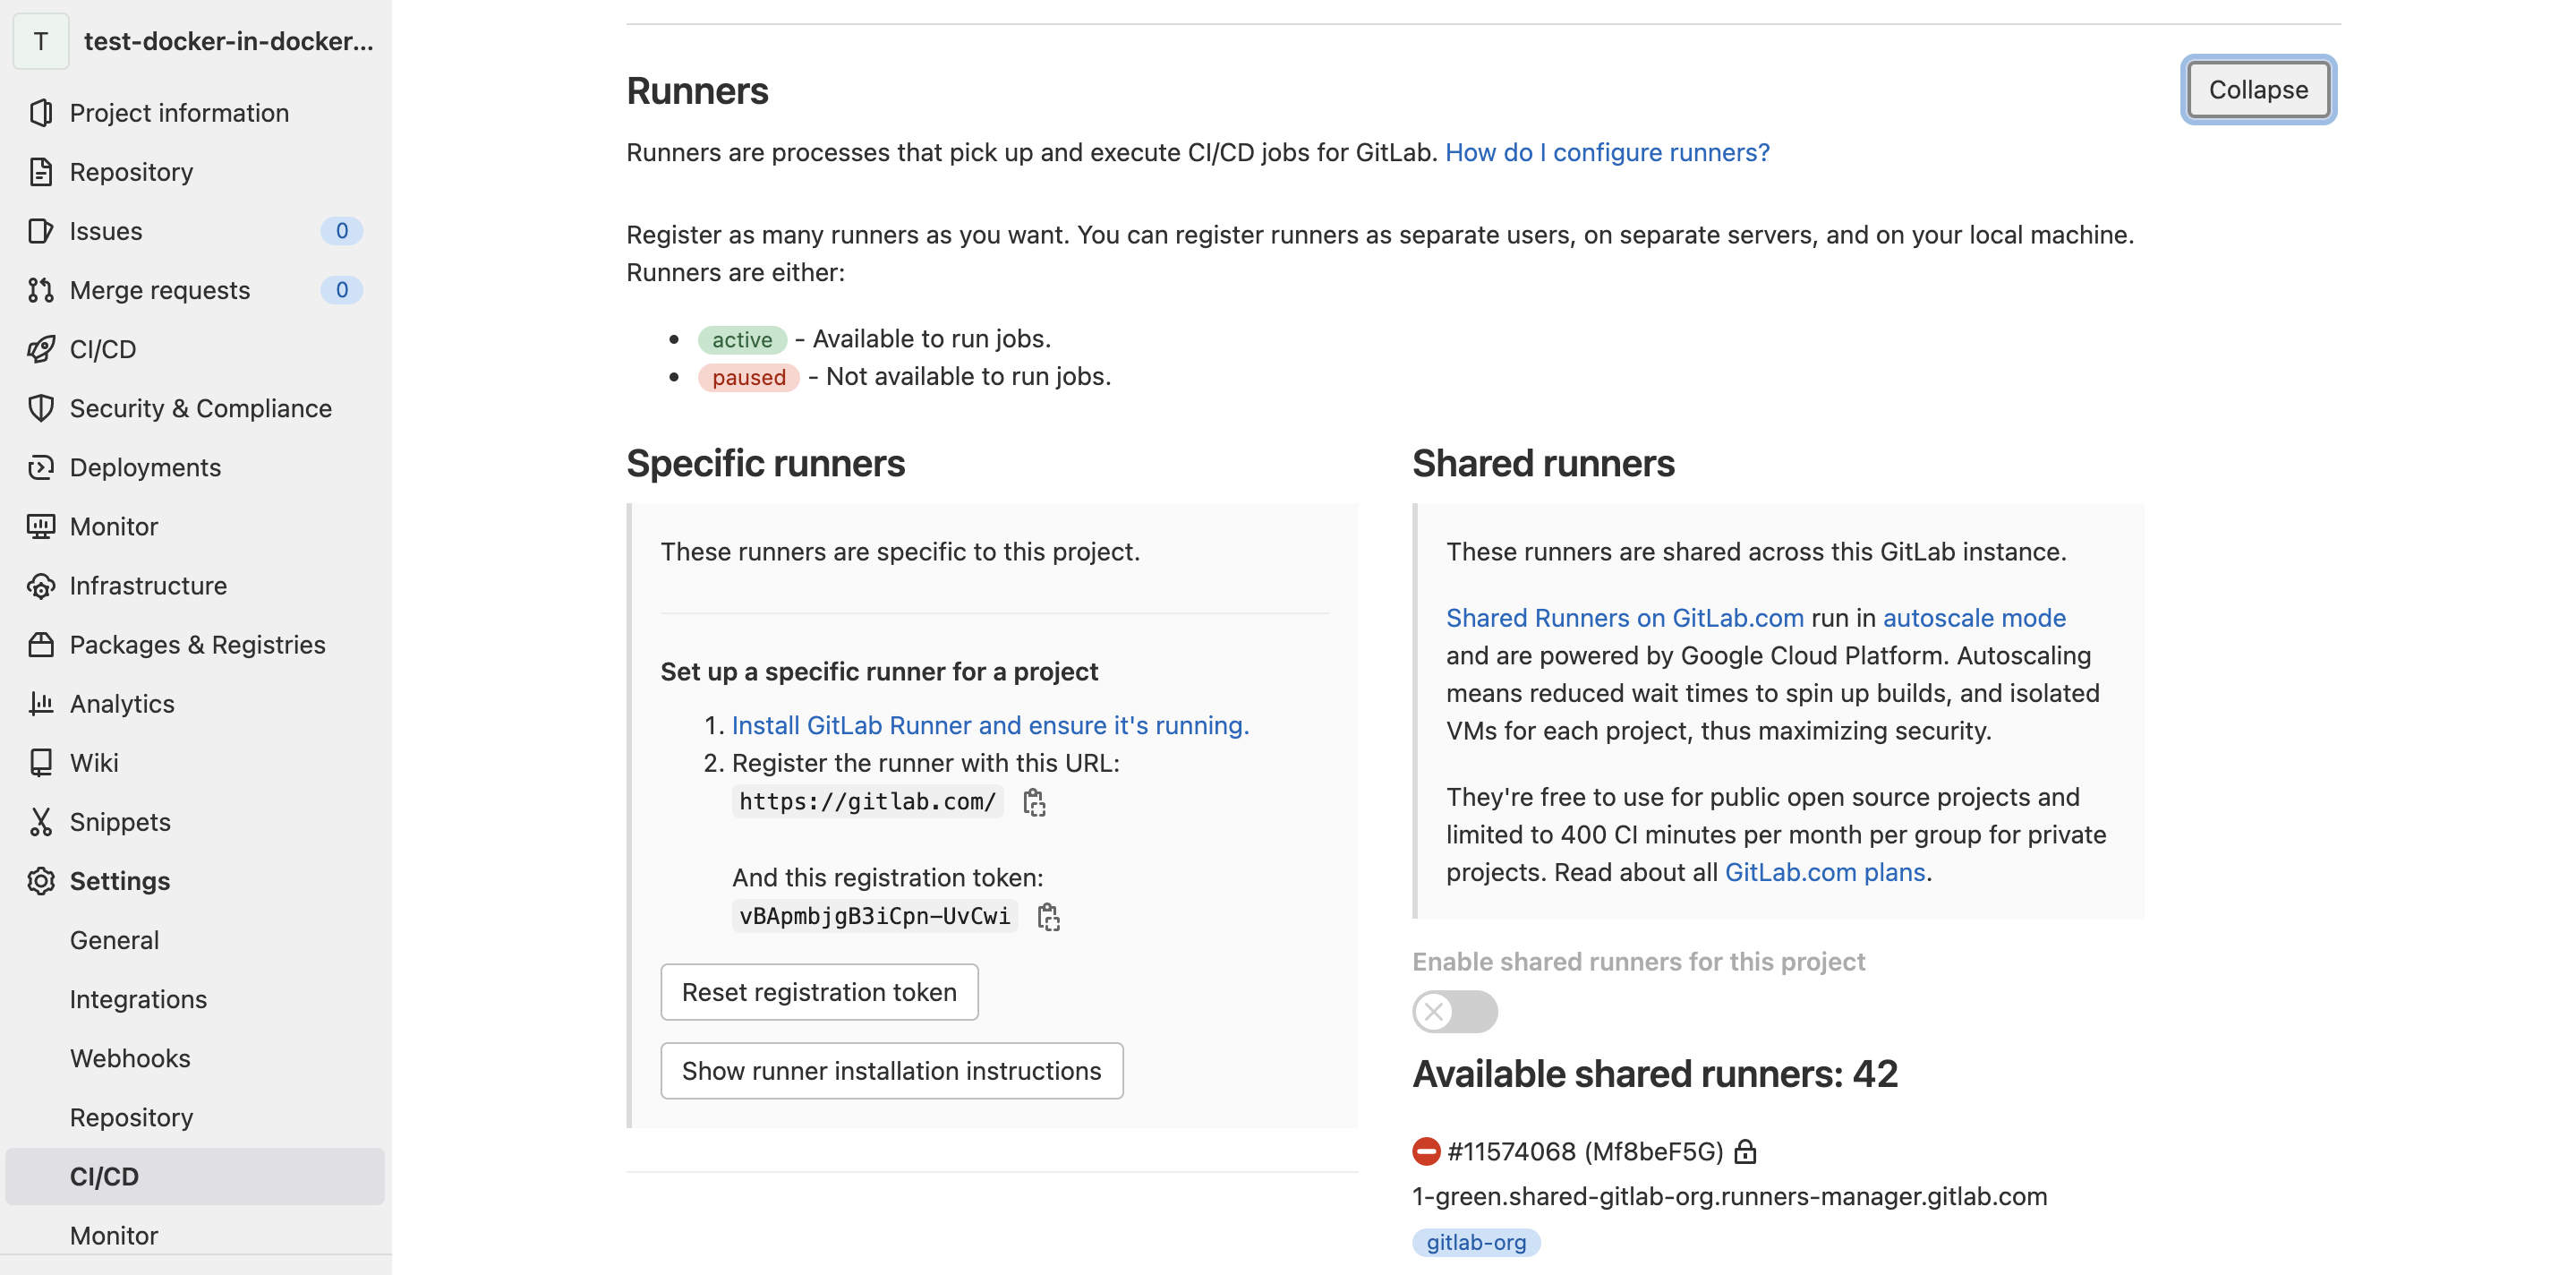
Settings > CI/CDand expand theRunnerssection - For a project-specific runner, go to
Settings > CI/CDand expand theRunnerssection
NOTE: For this tutorial we would be using group runner
To run gitlab-runner inside a Docker container, you need to make sure that the configuration is not lost when the container is restarted. For this purpose we will be using the local system for mounting all the data volumes.
Use the following command to install runner as a docker service :
docker run -d --name gitlab-runner --restart always \
-v /srv/gitlab-runner/config:/etc/gitlab-runner \
-v /var/run/docker.sock:/var/run/docker.sock \
gitlab/gitlab-runner:latest
Register the runner
The final step is to register a new runner. The GitLab Runner container doesn’t pick up any jobs until it’s registered.
- Run the register command:
docker run --rm -it -v /srv/gitlab-runner/config:/etc/gitlab-runner gitlab/gitlab-runner register - Enter your GitLab instance URL (also known as the
gitlab-ci coordinator URL) - When registering a runner on GitLab.com, thegitlab-ci coordinator URLishttps://gitlab.com. - Enter the token you obtained to register the runner.
- Enter a description for the runner. You can change this value later in the GitLab user interface.
- Enter the tags associated with the runner, separated by commas. You can change this value later in the GitLab user interface.
- Provide the runner executor. For most use cases, enter docker.
- If you entered docker as your executor, you are asked for the default image to be used for projects that do not define one in
.gitlab-ci.yml.
We should now be able to see our runners available under Settings > CI/CD and make sure it is selected, so that it picks all our jobs and does the rest of the magic.
NOTE: This docs is curated one for quick start and which worked for us. The same information with in deail docs could be found in the offical Gitlab Runners setup section